How I Got Real Analytics with Plausible Without Crashing My Site
Yep, this time I didn’t nuke the server.
After nearly deleting my entire blog the first time I tried self-hosting Plausible, you’d think I’d be too scared to touch it again. But no. I went back in — this time to actually add the tracking script to my website and start collecting real, useful analytics.
Spoiler: it worked.
Here’s how I did it (with screenshots, because I’m not making this mistake twice).
Before You Ask: “But How Did You Set Up Plausible in the First Place?”
Great question.
If you haven’t seen it yet, I wrote another post where I explain how I self-hosted Plausible Analytics using Docker and Caddy — completely free (and how I almost deleted my entire blog in the process 😅):

Read that one if you want to get your own analytics dashboard running without giving all your data to Google.
Step 1: Open the Plausible Dashboard and Add Your Domain
I logged into my Plausible Panel (self-hosted, because It's Free This Way!) and clicked that little “Add a website”button.
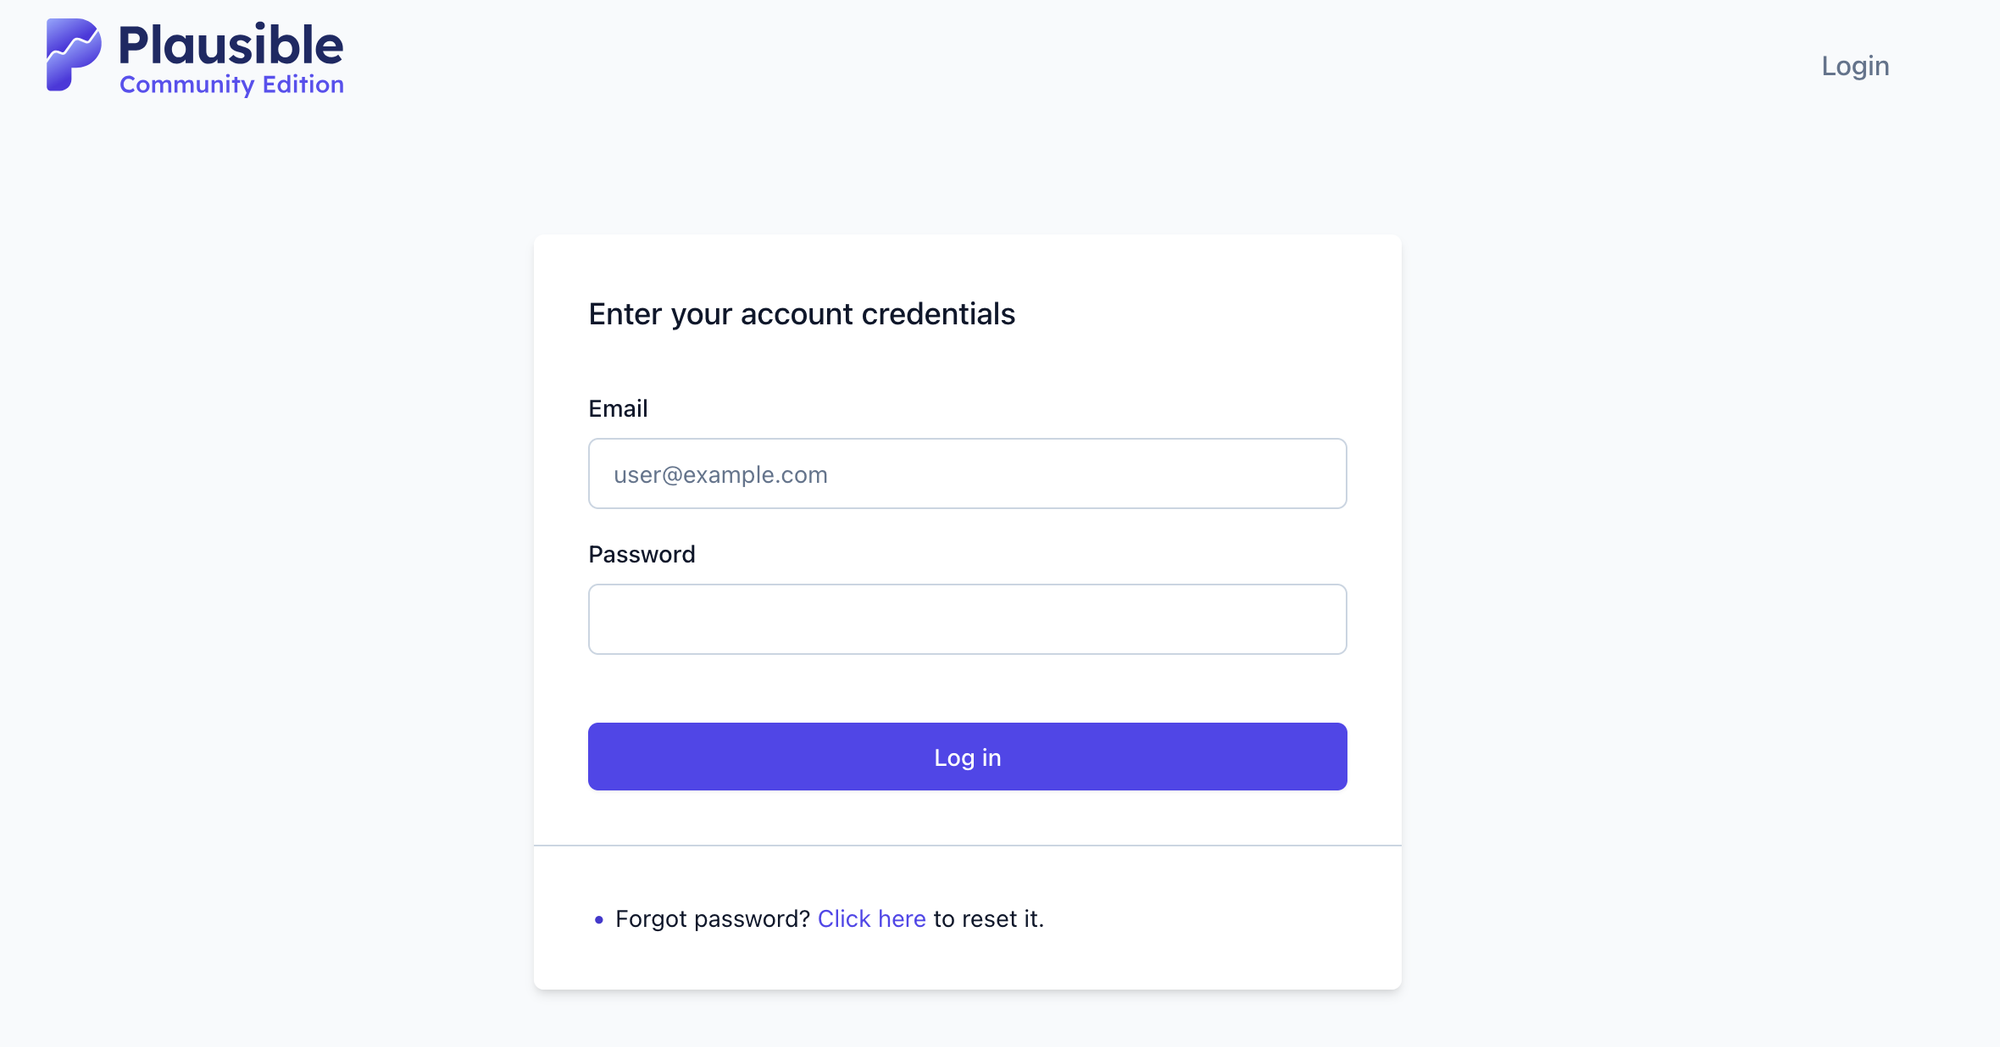
I entered my domain — in this case, citynomadz.org — and left everything else at default.

That’s it. Domain added.
Step 2: Copy the Tracking Script
After adding the domain, Plausible gave me a snippet like this:
<script defer data-domain="citynomadz.org" src="https://plausible.citynomadz.org/js/script.js"></script>Plausible told me to paste it into the <head> of my HTML. Cool. Simple enough, right?
Step 3: Paste It Into My Flask App
Since I’m using Flask, I opened my base.html file — the template that all my pages extend.
I dropped the script right before the closing </head> tag:
<head>
  <meta charset="UTF-8">
  <title>{% block title %}CityNomadz{% endblock %}</title>
  ...
  <script defer data-domain="citynomadz.org" src="https://plausible.citynomadz.org/js/script.js"></script>
</head>
After this you have to restart your docker container:
docker compose restart container-nameIf you don’t use base.html, you’ll need to paste it in every file that has a <head> section. Or… you should really be using a base template.
Your future self will thank you.
Step 4: Restart and Test
I restarted the Flask app, cleared the cache, and visited the site.
Then I went back to Plausible, clicked “Verify installation” — and boom, it worked. 🎉
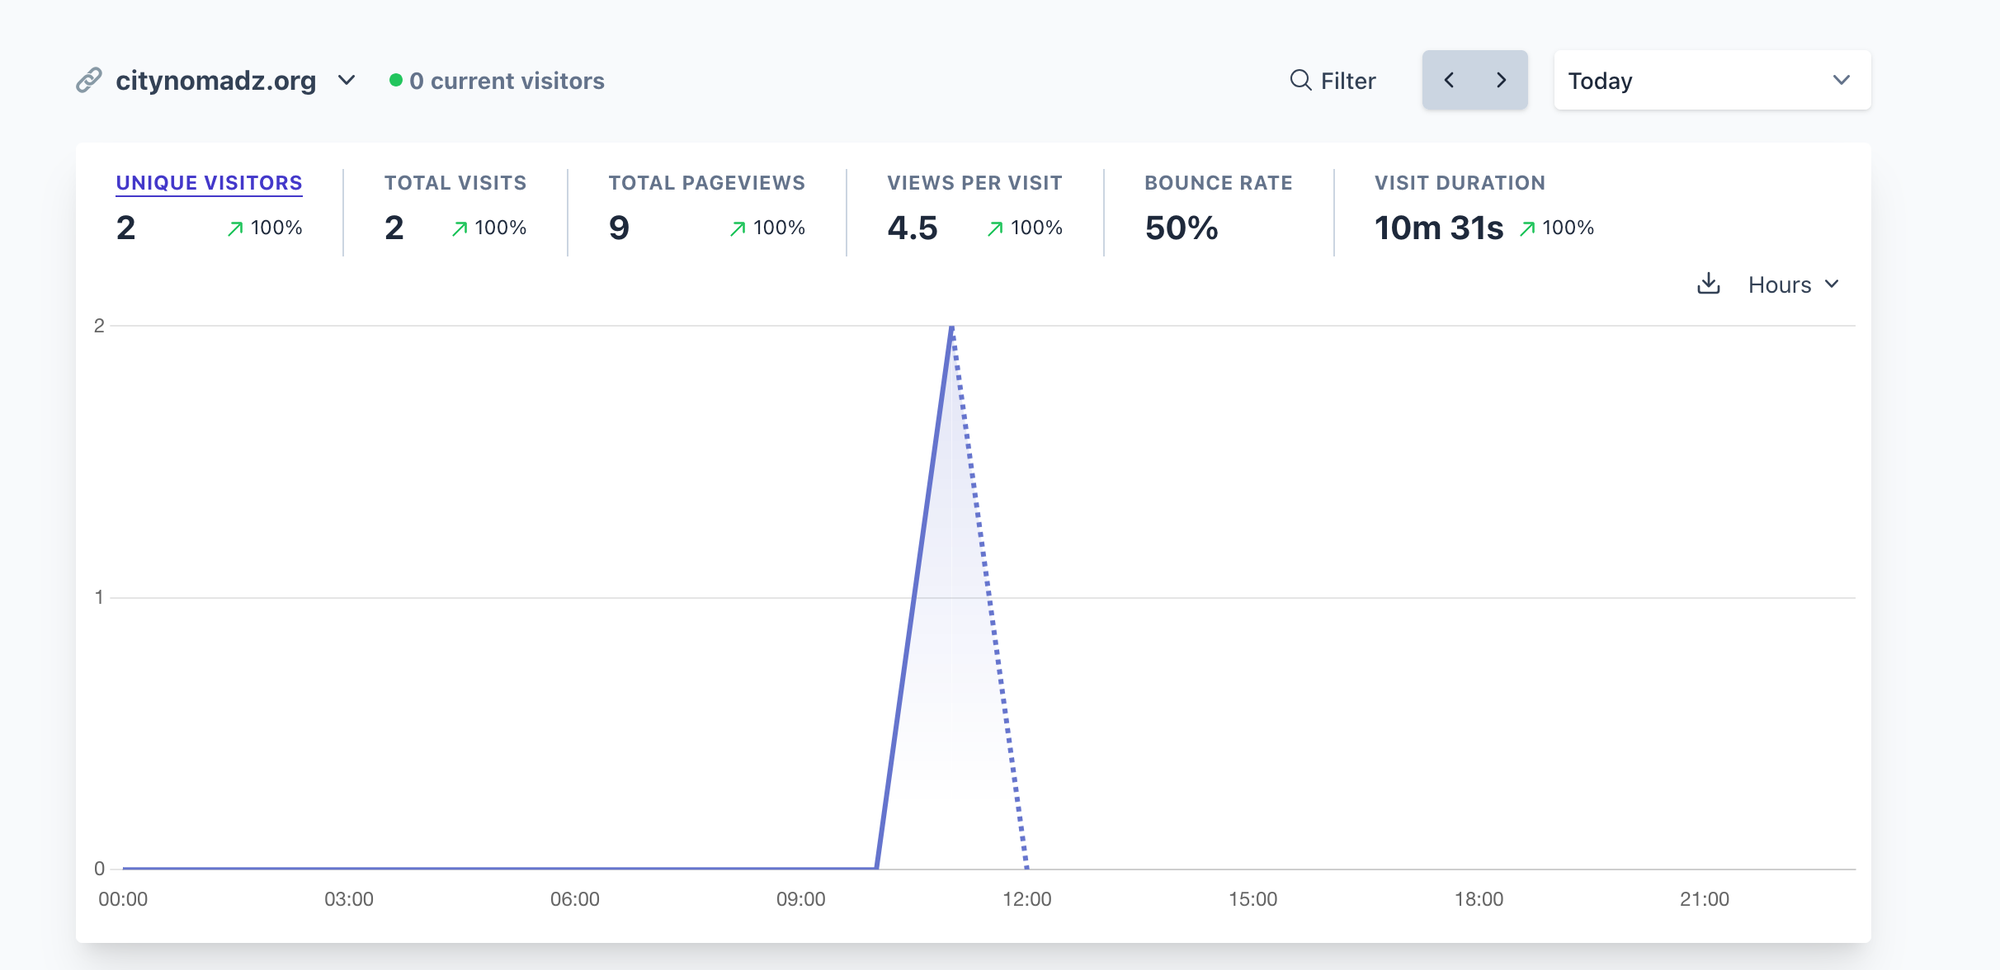
Step 5: Real-Time Analytics Joy
Now I can see:
- How many people are visiting my site (hi, mom & dad!)
- Which blog posts are most read
- Which countries my visitors are from (Armenia? UAE? Slovenia or elsewhere?)
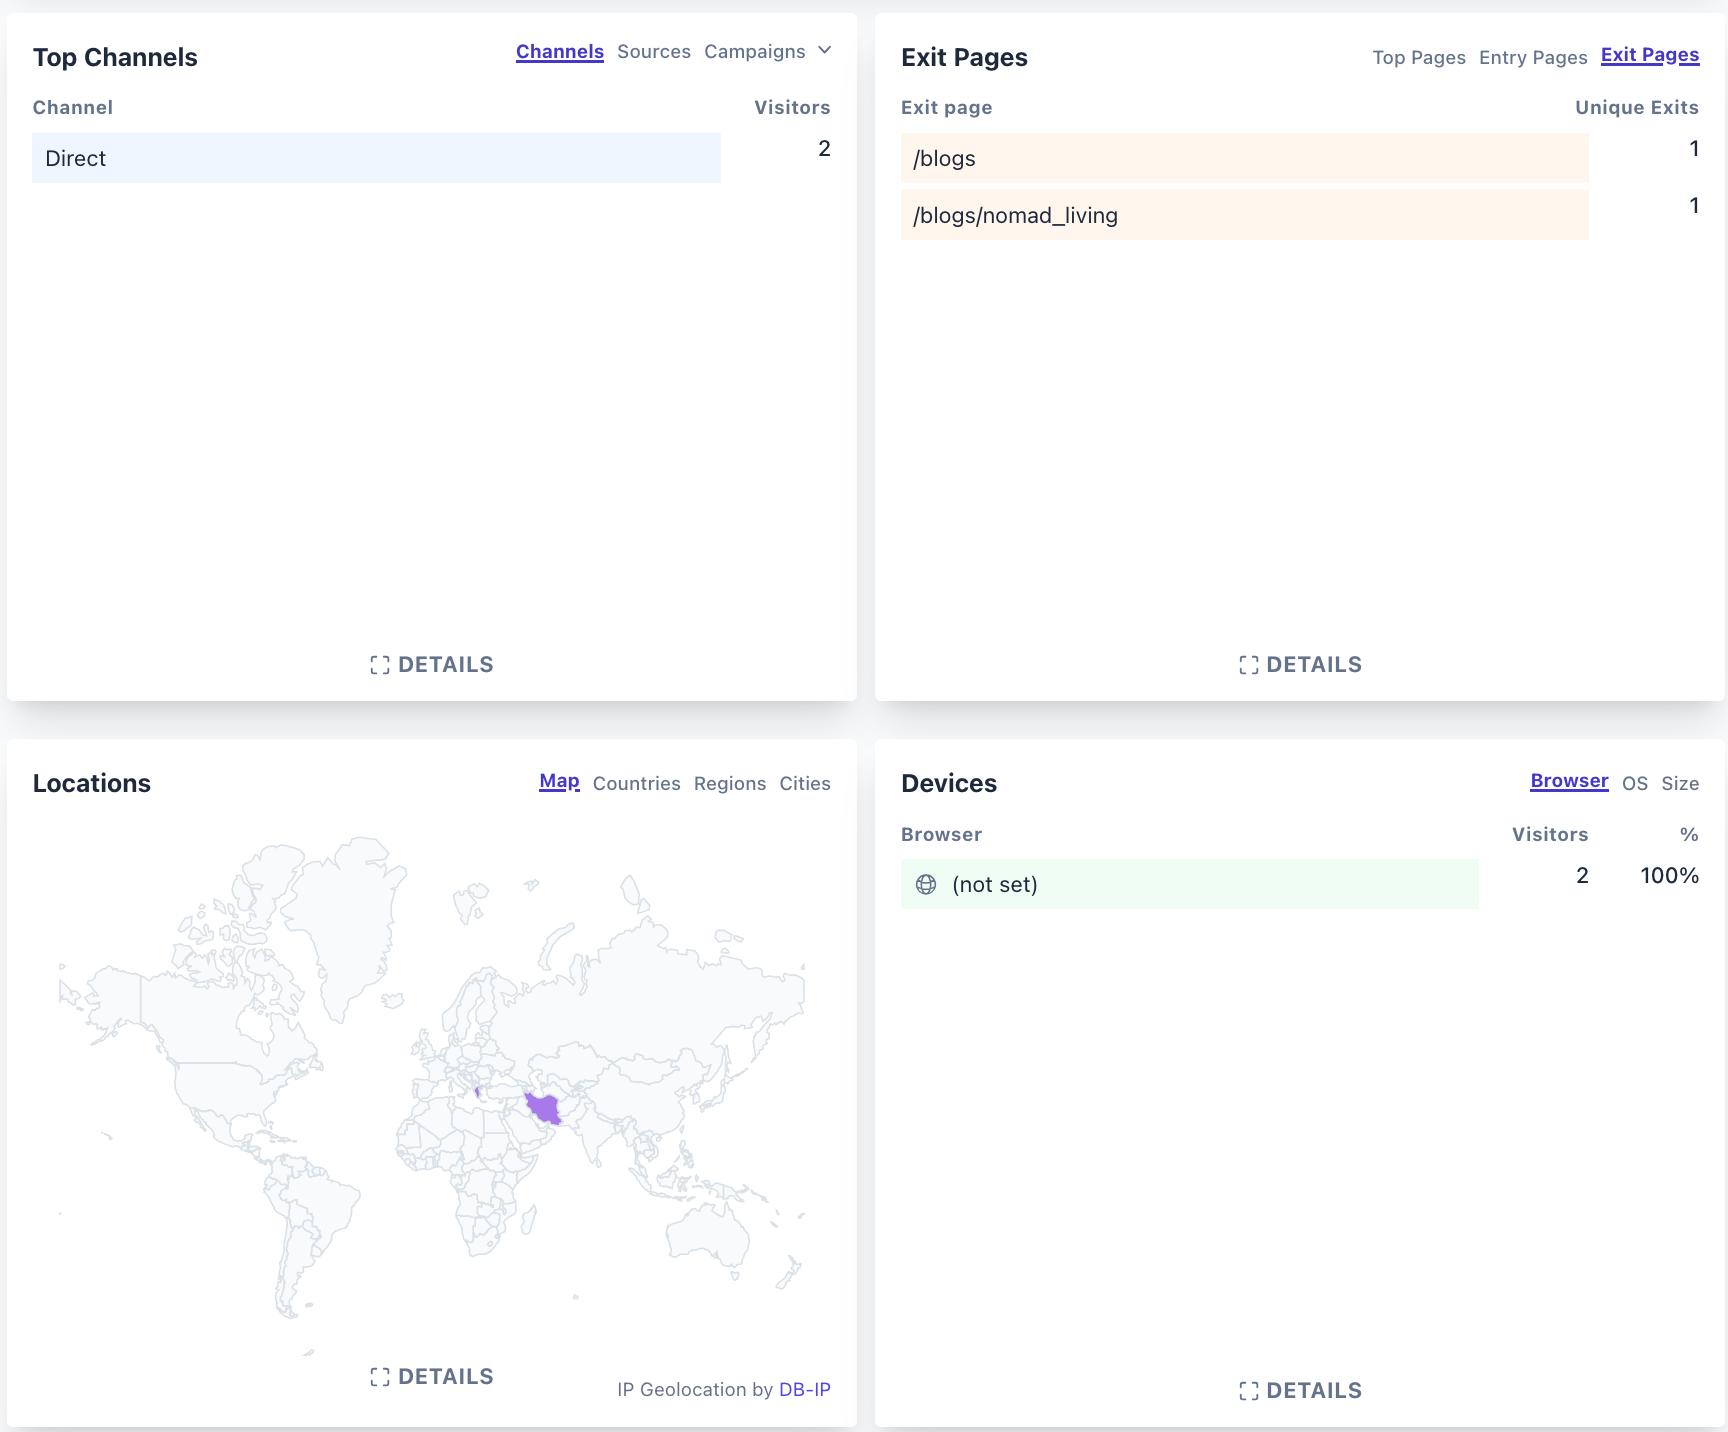
It’s clean, fast, privacy-respecting, and doesn’t feel like Google is watching everything I do.
Final Thoughts
Adding Plausible to your site is actually easy — as long as you don’t delete your blog in the process.
I now use it on all my sites (yes, including pycoin24.com). It just works.
If you’re building your own personal blog, portfolio, or side project, Plausible is a great alternative to Google Analytics — especially if you care about privacy.
Until next time. I promise not to delete my server again.